Photography tips
Winter Light – Heart-warming scenes
Read this photography tip to find out how to skilfully capture the warmth of light during the colder months. Discover five ideas for warm-toned shots – from magical winter mornings and fresh footprints in the snow to reflections of light.
Just cold and frosty? Not at all! Winter is often characterised by a special kind of light. It provides a contrast to chilly winter days, bringing warmth into our lives and into our photographs. Discover five photo ideas and how to turn them into unique gifts. Most of these tips can be easily put into practice using a smartphone, but in low light, a bit of photography kit will help you take a better picture.

Winter Reflections
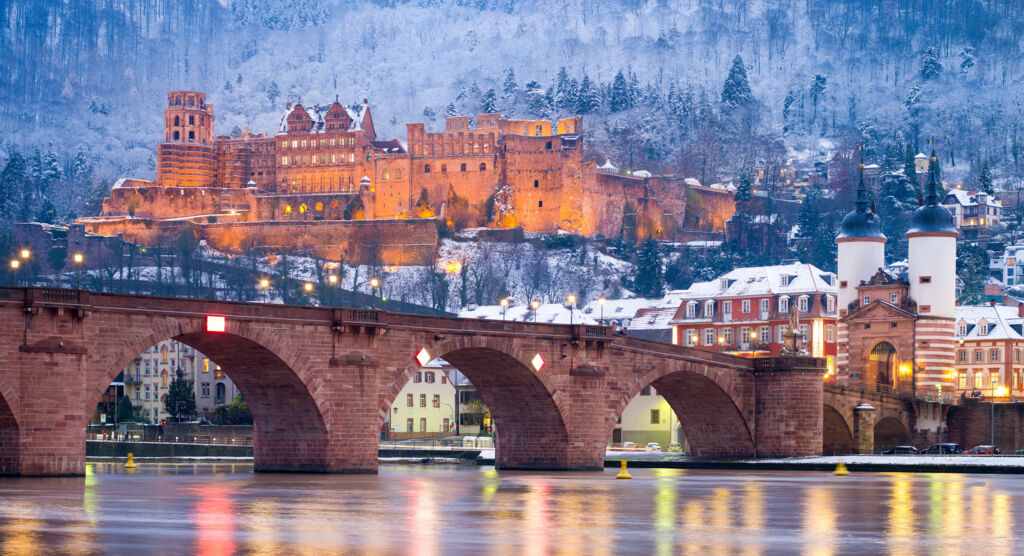
To photograph reflections in water, such as those seen here in front of Heidelberg Castle, you should definitely use a tripod. Start with ISO 100, f/8–11 and 2–8 s to ensure the water and light have a soft, shimmering glow. Position the arches of the bridge in the centre to act as a dividing line between the castle in the cool snow and the warm lights in the water.
A warm atmosphere in a cold setting
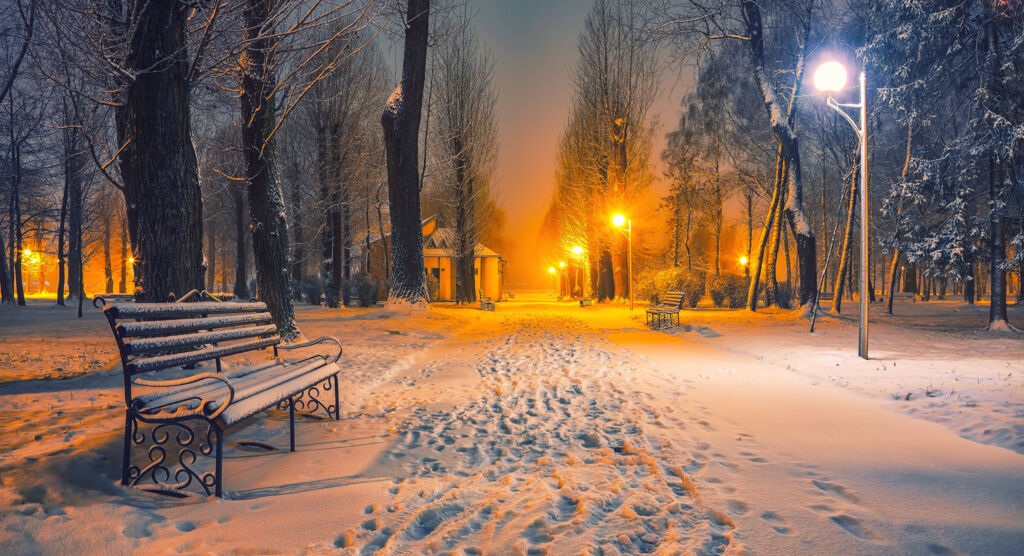
If you’re out for an evening stroll, you might just manage to take a photo like this. Use a tripod and a 24–28 mm wide-angle lens, ISO 100–400, f/8 and an exposure time of 1–4 seconds. Position the bench in the foreground; the footprints and row of trees draw the eye towards the golden lamplight. This creates a warm contrast to the cooler areas of the photograph.
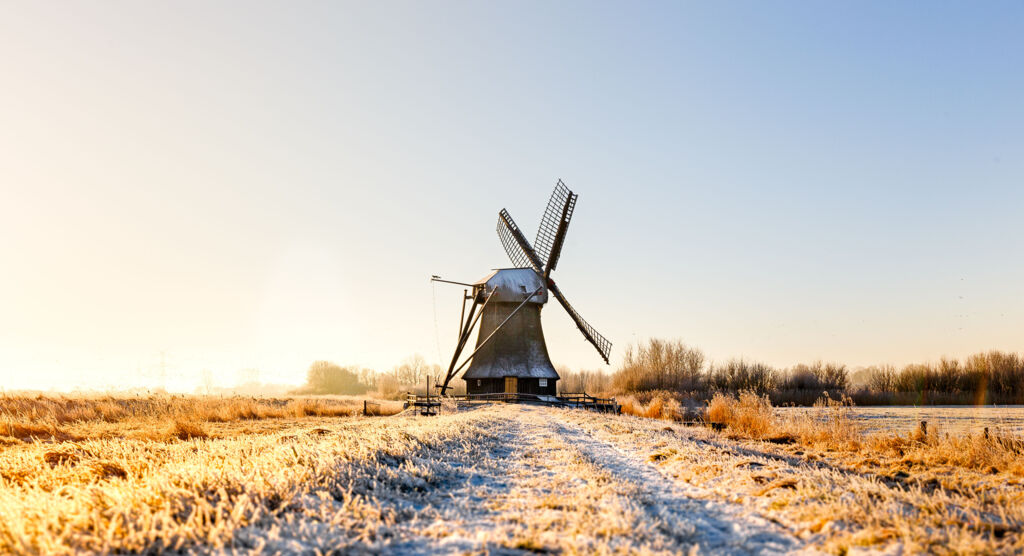
Fairytale-like morning light
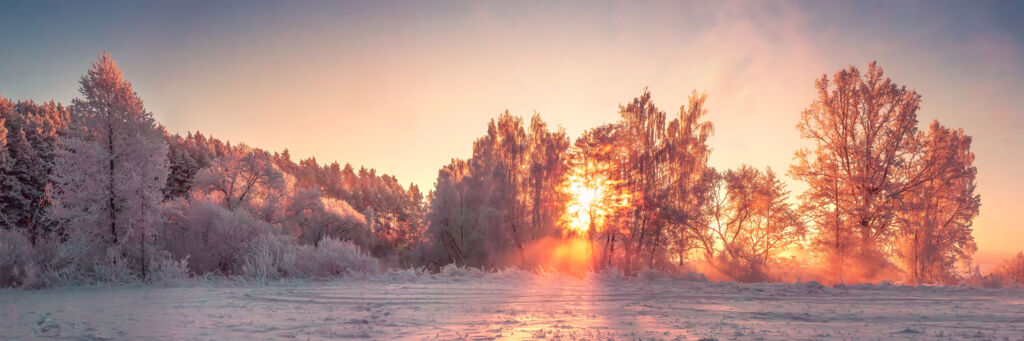
When the first rays of sunlight creep over the horizon, this is known as the Golden Hour. The flat backlighting creates a tranquil, fairytale-like and warm atmosphere in the image. Crouch down low and use the path as a leading line to the mill. A wide-angle lens of 20–24 mm emphasises the foreground. Starting settings: ISO 100, f/8–11, 1/125 s. If the light is too bright, it helps to underexpose slightly.
What is the Blue Hour? You’ll come across the term ‘Blue Hour’ in various places in our tips, but what exactly is it? The time just before sunrise or just after sunset, when the sky turns a cool, intense blue, is known as the Blue Hour. You can find more information in the photography tip Photographing at the Blue Hour.

The contrast with the cold lighting of winter makes warm light sources radiate a special sense of cosiness. The cold light of the snow and the warm glow from the windows give this photograph a cosy winter atmosphere. Taken during the blue hour from an elevated vantage point, a telephoto zoom lens (around 100–150 mm) helps to bring the half-timbered roofs closer together. The composition – which excludes the sky and is densely packed with gables – further enhances this effect. A tripod is also helpful here, along with the following camera settings: ISO 100, f/8 and an exposure time of approximately 1/2–2 s.
Lovely and out of focus: the bokeh effect
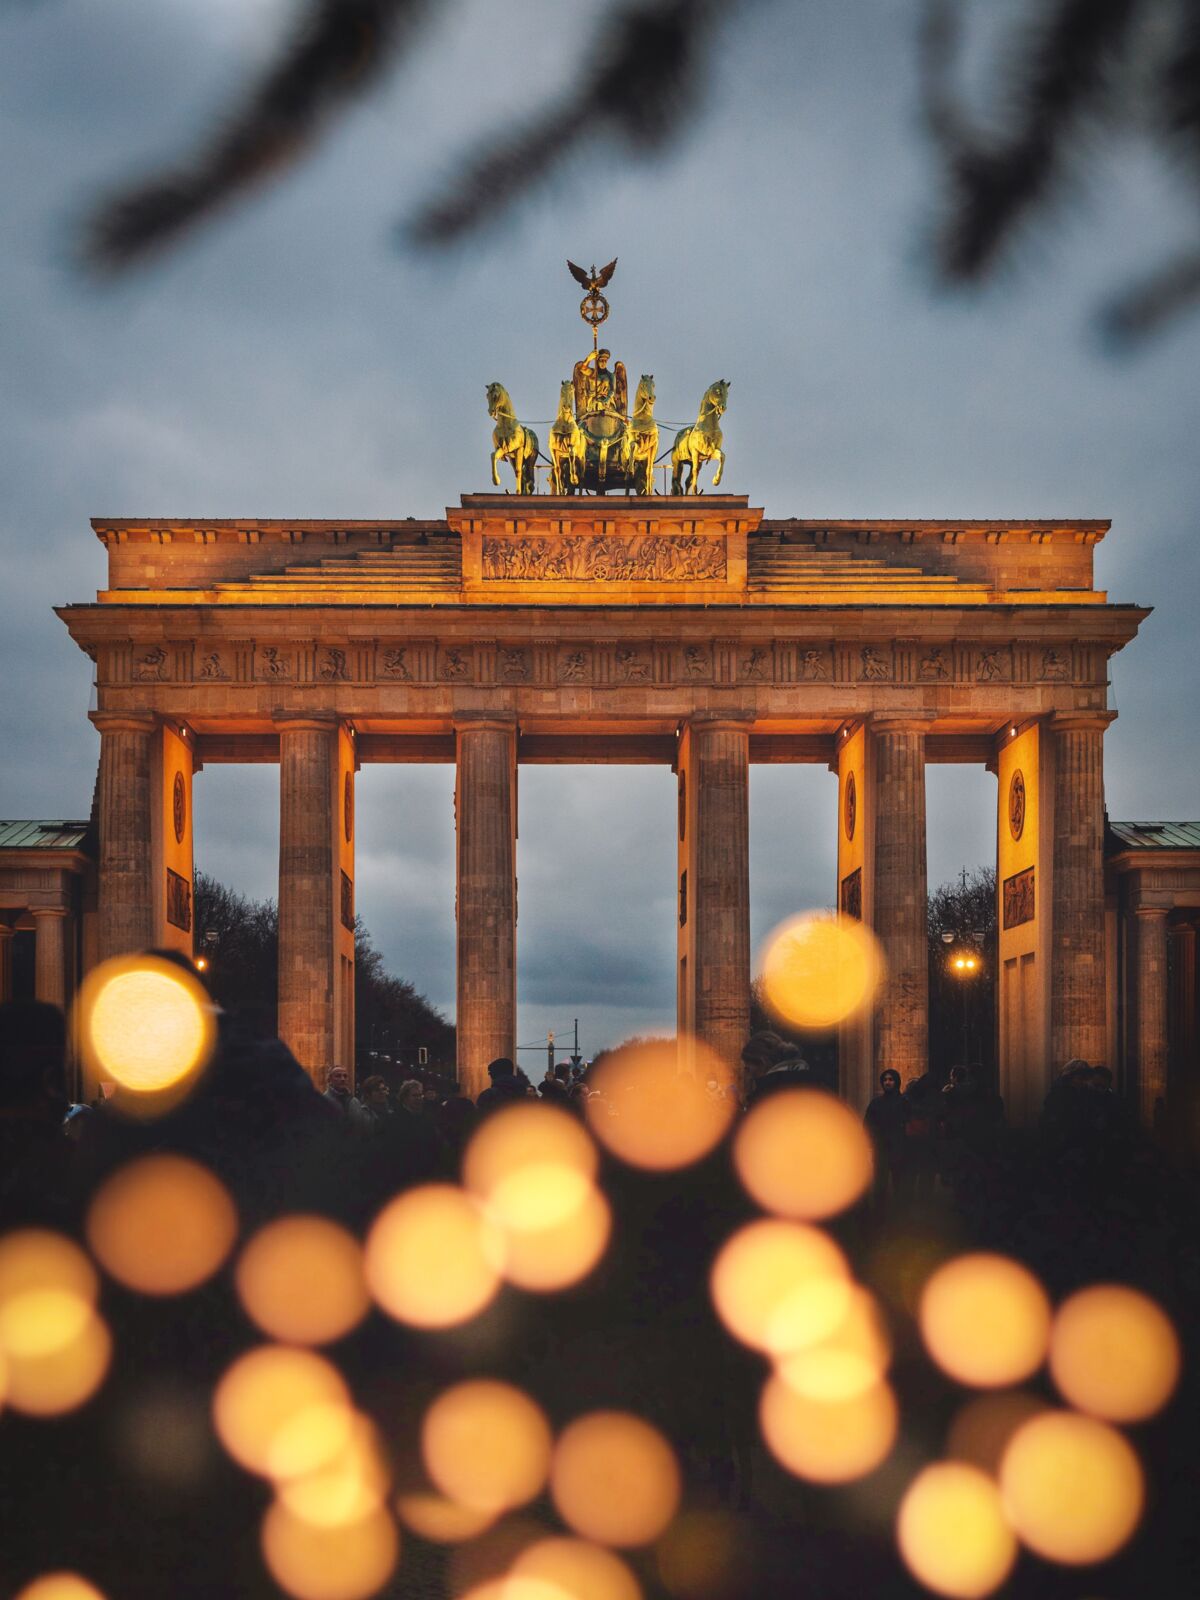
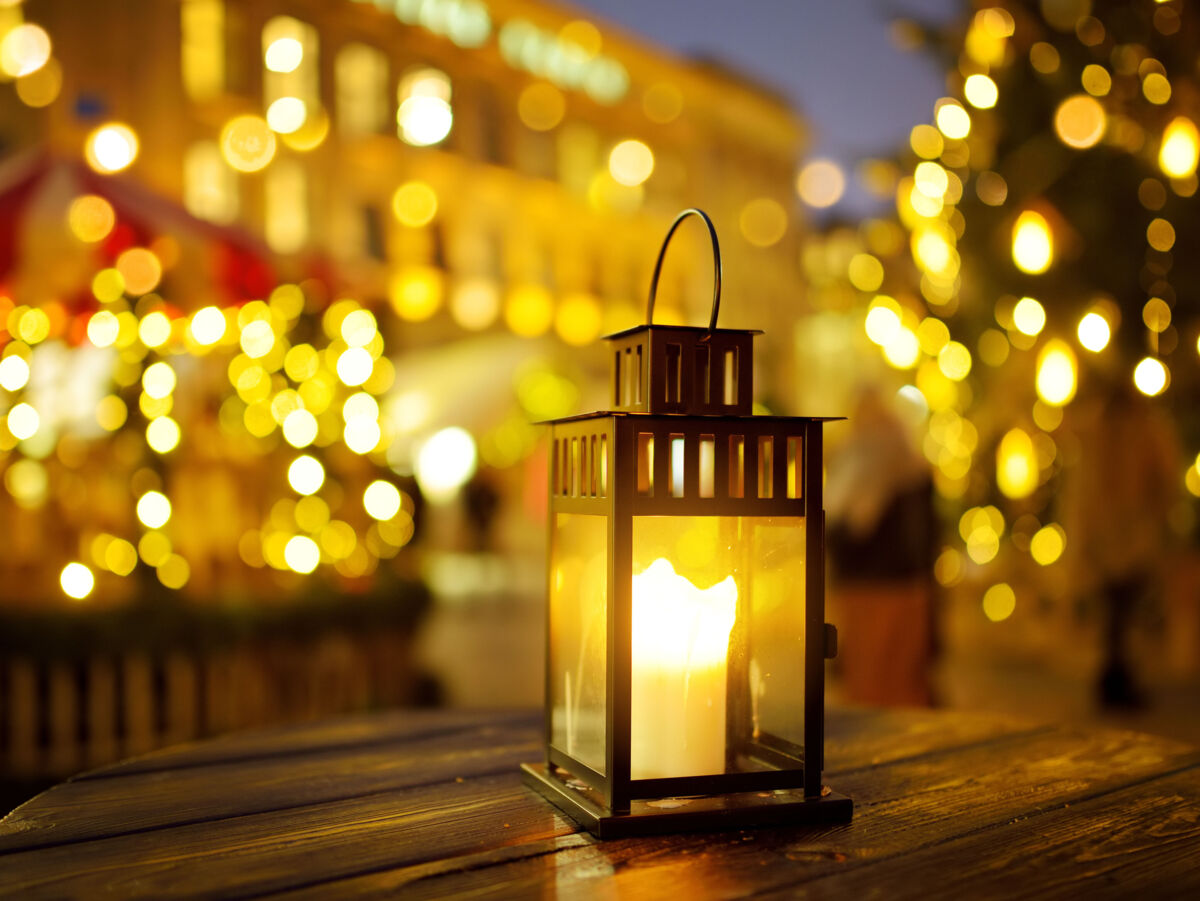
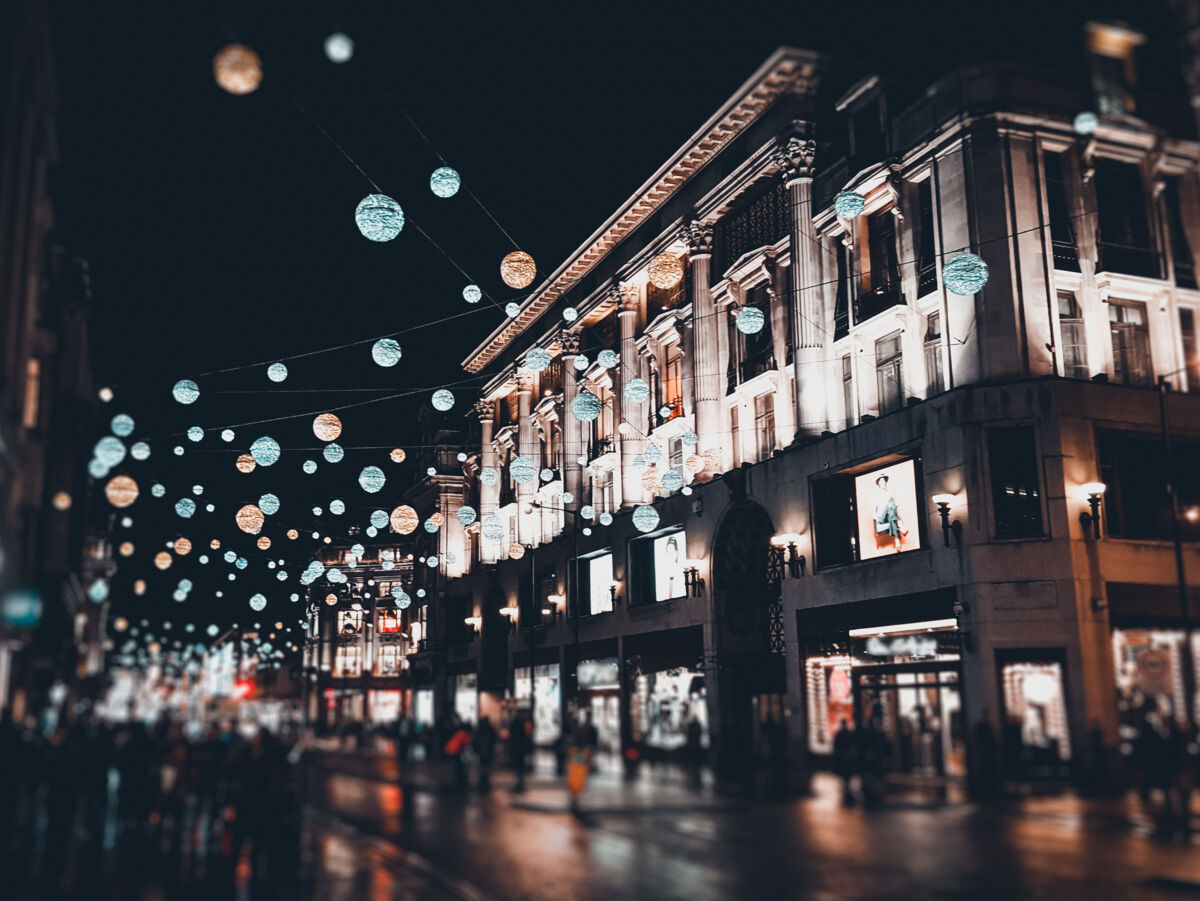
A popular stylistic technique in winter is the bokeh effect, which involves deliberately playing with out-of-focus points of light in the image. It works with any camera that allows you to adjust the aperture manually. - Image 1: If the focus is on the subject in the background – as here, the Brandenburg Gate – the lights in the foreground produce the desired bokeh. The symmetry in the image lends the whole scene a festive air. Photographed during the blue hour at 85–135 mm, f/1.8–2.8 and ISO 400–800, 1/125 s. - Image 2: The bokeh effect in this photograph is particularly pronounced due to the many light sources. Take photographs at twilight using a fast 50 or 85 mm lens. Position the lantern close in front of your camera and let the table serve as a calm foreground. Focus on the edge or the flame of the lantern and open the aperture to f/1.8–2.8: this will turn the market lights into soft points of light. - Image 3: Reflections on wet tarmac and warm shop windows create a cinematic city atmosphere. Careful post-processing further enhances this effect. But how was this photo taken? Shot from a slightly low angle, the road forms a vanishing point in the image and the fairy lights create a glowing canopy. A 24–35 mm lens at f/2, ISO 800–1600 and 1/60 s keeps the buildings sharp whilst subtly blurring passers-by.
Even on dark days, you’ll find magical lighting effects. It really does make winter feel less grey, cold and frosty. We hope you have lots of fun taking photos and creating your Christmas presents – for your loved ones or even for yourself.
The CEWE team
For your favourite spaces, with photos to get lost in
Here’s how to bring even more positive energy to every room in your home