
Photography tips
The perfect light: photos taken during the golden hour
The golden hour lends photos an unrivalled atmosphere. With our tips and tricks, you’ll be able to capture that magical light perfectly – from choosing the right location to getting the exposure just right.
The Golden Hour is the time just after sunrise or just before sunset, when the light is particularly soft, warm and flattering. This makes taking photographs particularly easy. We explain the magic and significance of the Golden Hour and offer tips on how you can make the most of this special time of day.

Create beautiful Wall Art with your photos
What is the Golden Hour?
The Golden Hour is a term used in photography to describe the period shortly after sunrise and shortly before sunset. During this time, the sun is low above the horizon and its light strikes the Earth at a shallow angle. This has several effects: The sun’s rays have to travel a greater distance through the Earth’s atmosphere, causing the blue components of the light to be scattered and filtered out more effectively. What remains are the longer wavelengths (shades of red, orange and yellow), which make the light appear warmer.
As the light falls obliquely onto the Earth, it is perceived as less direct and less intense, resulting in soft, diffused lighting. This quality of light is particularly pleasant compared to the harsh midday sun, as it avoids strong contrasts and harsh shadows.
Another distinctive feature of the Golden Hour is the long shadows created by the low-angle light. These shadows offer a wonderful opportunity to emphasise depth and structure in the image. Particularly in landscape and architectural photography, the shadows can create interesting patterns that lend the image greater dynamism.
The duration of the Golden Hour varies depending on geographical location and the time of year. In summer and at higher latitudes, it can last longer, whilst in winter and near the equator it often lasts only a few minutes. It’s worth using apps and tools that calculate the exact time for your specific location – put simply, it’s the hour before sunset or after sunrise.

The soft light of the golden hour is unbeatable in portrait photography. Direct midday sun can quickly cast unflattering, harsh shadows on the face. However, the warm tones of the light enhance the natural complexion and create a warm, inviting atmosphere.
Whether it’s soft sunlight on the face or a backlit shot, the choice is yours. If the sun is behind the model, it makes their hair glow from behind or appears as a halo (lens flare) in the picture. To avoid shadows on the face, you can use a reflector to bounce the light back onto the model. Your photos take on a romantic touch and, thanks to the soft, warm light, often come across as very emotional and intimate.
More scenes for the Golden Hour
The golden hour offers perfect light for many genres of photography. Here are some of the best subjects that benefit from this special light – and our recommendations for products that will help your photos really stand out.
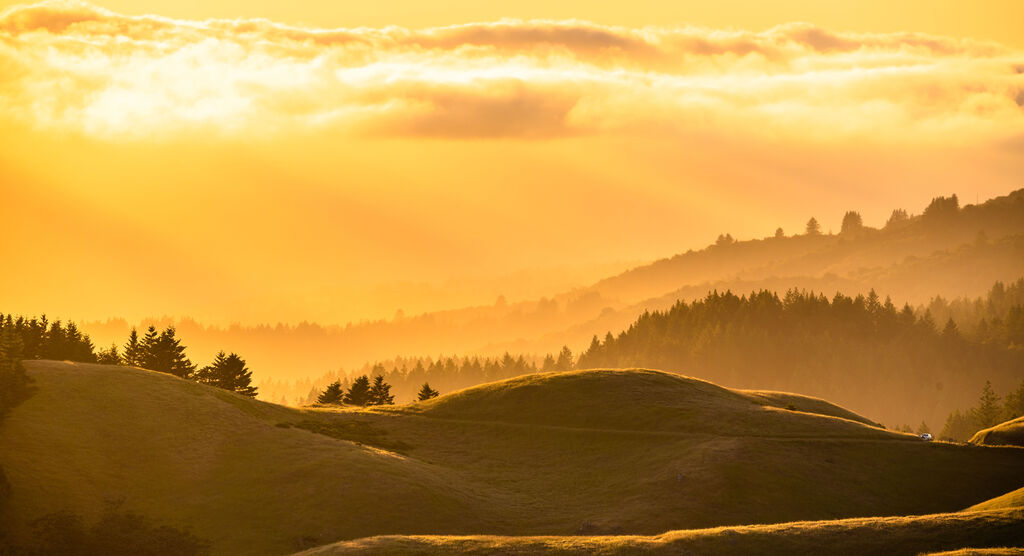
Landscapes
The warm colours of the sky and the soft shadows cast on the mountains, meadows and bodies of water lend nature an incredible sense of depth. As the sun sinks low, it reveals structures and details in the landscape that are hidden by the harsh light of day.
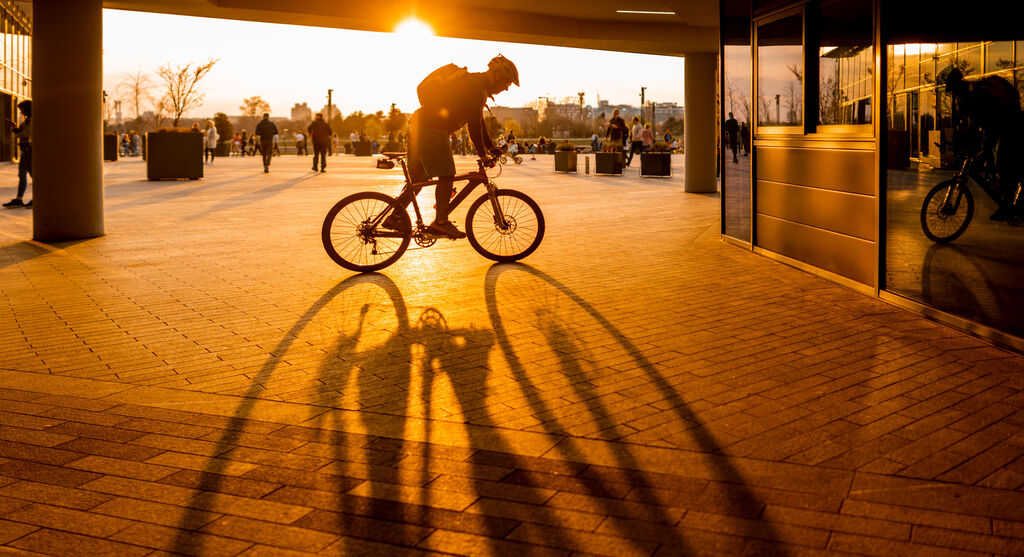
Shadow puppeteer
Buildings and streets appear more three-dimensional thanks to the long shadows and the warm light. The golden glints on windows and metal surfaces create a romantic atmosphere that makes the city’s rough concrete seem softer. Street photography becomes a real eye-catcher thanks to the golden light.
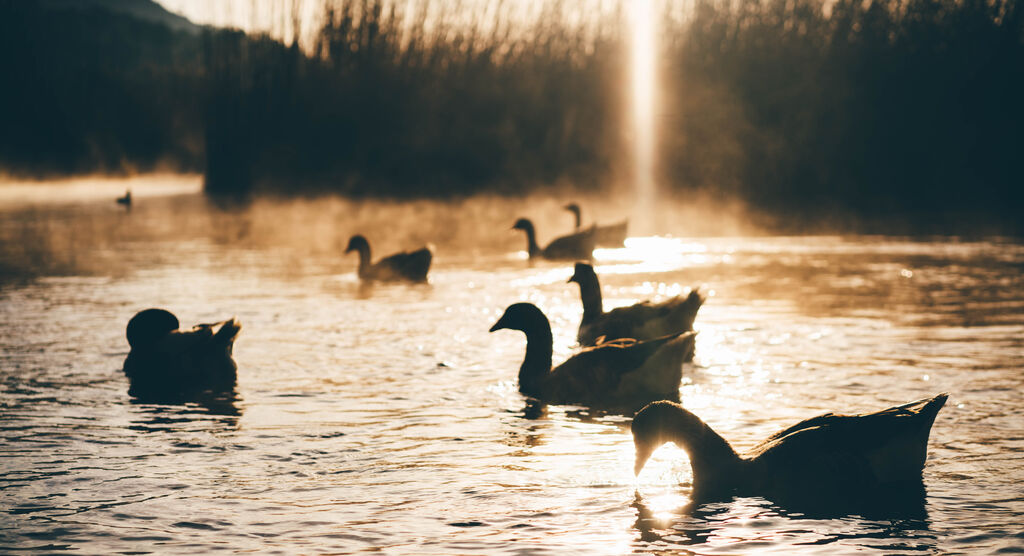
Naturalness
The golden hour offers ideal conditions for photographing animals and plants. The soft light avoids harsh contrasts and brings out the natural colours of fur, feathers or leaves.
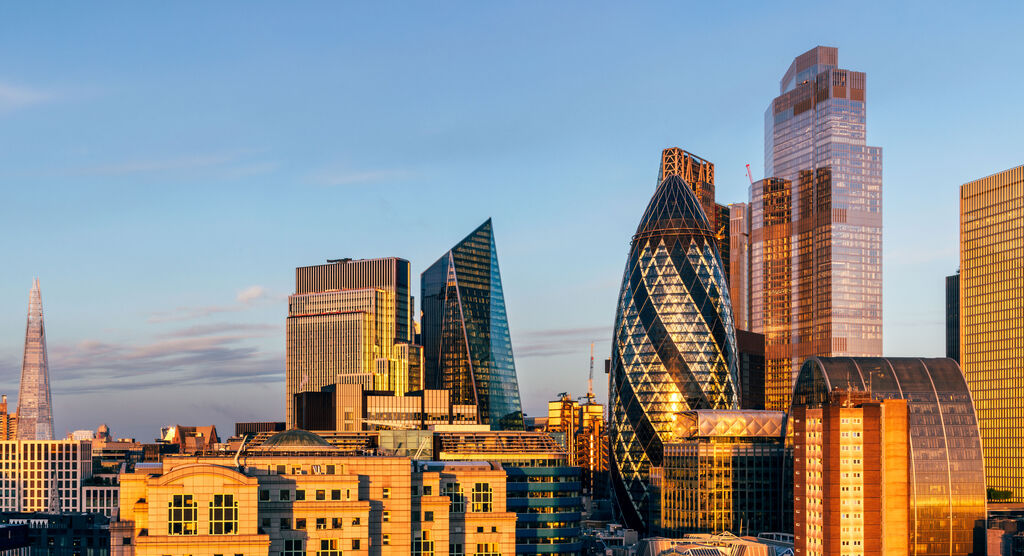
Structures
Much like in urban photography, architectural structures also benefit from the long shadows and warm light of the golden hour. Buildings with clean lines or distinctive surface textures, in particular, take on a striking sense of depth and dimension.
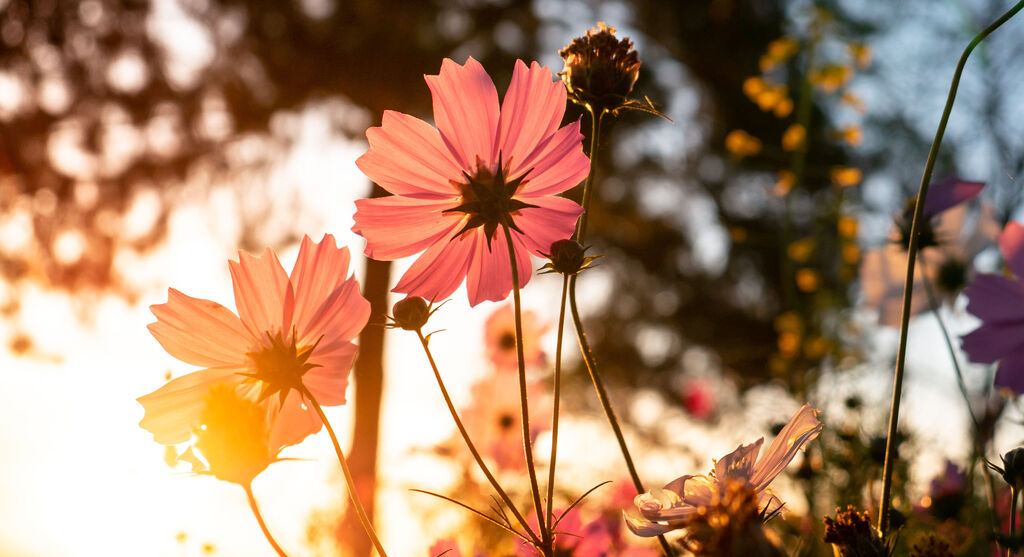
Sun details
The textures and colours of objects appear particularly vivid during the golden hour. Whether plants, food or other small objects – the warm, soft light highlights the fine details and creates a gentle atmosphere.
The perfect camera settings for the golden hour
Anyone taking photos with a smartphone during the golden hour will usually be rewarded with beautifully exposed images thanks to the automatic settings. However, it’s worth giving some thought to the technical aspects and, where necessary, adjusting the settings manually. Almost every camera app now offers a ‘Pro’ mode or something similar for this purpose. Some of the following tips on camera settings are therefore also useful for smartphone photographers.
Exposure
Light intensity is lower during the golden hour than in daylight. You should therefore keep a close eye on the exposure. It’s worth increasing the ISO slightly, particularly when photographing moving subjects. A wide aperture (f/2.8 or wider) allows more light to reach the sensor, but this also reduces the depth of field. In portraits, for example, this creates a lovely blurred background. If you want everything to be in focus, it’s best to shoot with a narrow aperture (from f/8 to f/16) and a long exposure time, using a tripod.
White balance
The camera’s automatic white balance often attempts to neutralise the warm colours of the golden hour. Many cameras also offer settings in automatic mode to counteract this (‘preserve warm lighting’ or similar). Otherwise, you can also adjust the white balance manually. A value of 5500K to 6500K emphasises the warm colours of the light. Experiment with the Kelvin values to achieve the desired colour tone – from golden warmth to more neutral tones.
Dynamic range and RAW
During the golden hour, there is often a strong contrast between the light and dark areas of an image. To ensure maximum flexibility during post-processing, it is advisable to shoot in RAW format. This allows you to brighten shadows or darken highlights later in post-processing without losing any detail. You can also adjust the white balance more precisely later on with RAW files, without compromising image quality.
Filter
Filters are a good way to enhance the light during the golden hour and achieve creative effects. Polarising filters reduce reflections and make the sky more vivid – this is particularly useful for landscape photography. ND filters reduce the amount of light without altering the colours. This allows for longer exposure times, for example to capture water more smoothly. Grey graduated filters help to balance the difference in brightness between the sky and the foreground, ensuring that both parts of the image are correctly exposed.

Even during post-processing, the results of the ‘golden hour’ can be further optimised and, if desired, slightly enhanced. In programmes such as Adobe Lightroom, Photoshop or similar smartphone apps, the warm colour tones of the ‘golden hour’ can be specifically enhanced. Temperature sliders or colour saturation settings help to intensify the atmosphere. Another aspect worth optimising is the contrast between light and dark areas of the image. If you lighten the shadows slightly and, where necessary, reduce the brightness of the light areas of the image – the ‘highlights’ – the image will appear more balanced. On the other hand, a dramatic contrast is also appropriate for many subjects.
Enchanting Light
The golden hour is a fantastic opportunity – and it happens every single day! The warm, soft light lends your photos a unique atmosphere. If you make clever use of the golden hour, you can create breathtaking images that are impressive both technically and emotionally. So: grab your camera, plan for sunrise or sunset, and make the most of that magical light for your own photography projects!
Warm regards,
Your CEWE team
For your favourite spaces, with photos to get lost in
Here’s how to bring even more positive energy to every room in your home