Photography tips
How to: Taking photos during the blue hour
If you want to take breathtaking photos, you should definitely keep an eye out for a particular time of day: the blue hour! But what exactly is the blue hour, and how can you use it to take striking and natural-looking photos? In this article, we’ll give you a solid foundation, as well as a few tips that you can put into practice straight away with your camera or even your smartphone.

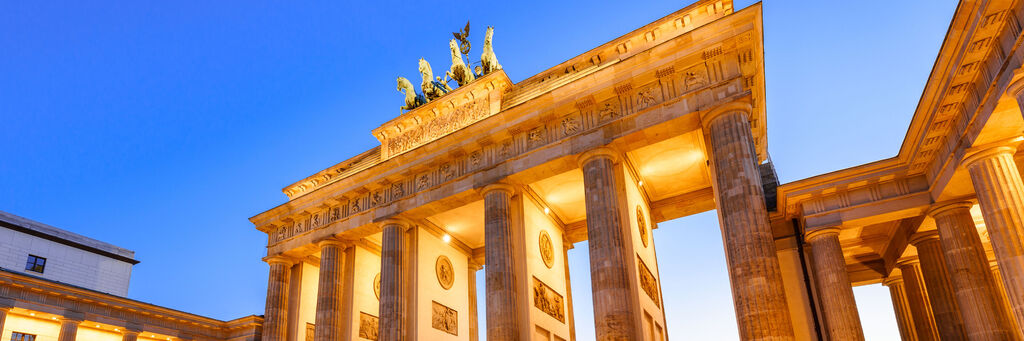
The Blue Hour refers to the time just before sunrise or just after sunset. As the name suggests, the sky takes on a cool, intense blue hue. This is caused by the interaction of the ozone layer with the low angle of the sunlight just below the horizon. In our latitudes, this natural phenomenon lasts for around 30 to 50 minutes. Incidentally, whilst the Blue Hour does not reach its full effect on cloudy days, it is still the best time for many photographic opportunities.
What makes the Blue Hour special
Photography is painting with light – and there is hardly any other time when this is as evident as during the Blue Hour. For during this brief period, after sunset or before sunrise, we can capture photos with our camera or smartphone that are almost more striking than reality itself. We experience the perfect balance between the natural residual light in the sky, which appears deep blue, and artificial lighting, for example in the city. The camera ‘paints’ with a colourful brush, using high contrast and complementary colours. A real treat for anyone who loves taking photos.

During the Blue Hour, it only appears as though all attention is focused on the sky. In fact, in the vast majority of photographs, it is the interplay with other light sources that makes the Blue Hour so captivating. The deep, intense blue of the sky, combined with the red and yellowish hues of the remaining sunlight or artificial lighting, creates a harmonious complementary contrast in the image. It is this magical atmosphere on the streets that makes the Blue Hour so popular with photographers.

The less light there is, the more challenging photography becomes. But even with a smartphone or a camera set to automatic mode, you can still take decent photos during the blue hour. To achieve this, the devices amplify the available light to produce an image that is bright enough – though this does come at the expense of image quality (keyword: image noise).
As is often the case, having the right equipment can make a big difference to your photography. When there is little «available light», a long exposure is a good option – to ensure the image isn’t too dark and no details are lost. However, you’ll definitely need a tripod for this, as holding the camera by hand would result in camera shake given the long exposure times required.

To take the best possible photo during the Blue Hour, adjust the camera settings manually to suit the lighting conditions. Start by adjusting the ISO setting. This should be as low as possible – ideally ISO 100 – to avoid unwanted noise in the image. For a greater depth of field and a starburst effect around light sources, set a narrow aperture (high f-number) – such as f/10 to f/16. You can now adjust the brightness using the exposure time. It’s best to start with a value of one to two seconds and adjust it if the image is still too dark. The longer the exposure, the more movement in the image will be blurred. This is how you create, for example, the popular light trails of moving cars or, as shown here in the picture, the flowing movement of pedestrians.
Finally, we recommend shooting in RAW format. This uncompressed raw data format saves images with the highest possible information density and offers much greater flexibility during post-processing.

A blue sky isn’t necessarily enough to create a striking image. Look out for reflections, for example in water or on glass façades. If not only the sky but also the city lights are reflected, the shot will have that certain something. It’s generally said, anyway, that the blue hour is the best time for taking photos in the city and of city skylines.
We hope you have lots of fun and success with your photography. Perhaps you’ve even taken a particularly good photo that you’d like to hang on the wall as a photo canvas?
For your favourite spaces, with photos to get lost in
Here’s how to bring even more positive energy to every room in your home